 The thing to do, I guess, is to show you the bathroom as it
is starting out. I have a few shots to put up so you can see what we are
working with.
The thing to do, I guess, is to show you the bathroom as it
is starting out. I have a few shots to put up so you can see what we are
working with.
This first shot is the tub before anything was done.Note the lovely color of the painted walls and ceiling. I
really don’t know what to call this color, but if you notice the grout on the
tile portions has been painted with a small brush in a slightly different color
of green. Just a bit lighter. And in order that there should be no grout
showing through the artist went just outside the lines on all of it. I am not
sure what to do worth it yet, but 3 options have presented themselves: 1. Pull
out the grout and redo it, which is a problem, for there are missing tiles here
and there, and the paint is on the faces of the tile. 2. Put up beaded paneling over it, then paint that. Problem with
that is it is wood in the bathroom: not always a popular item. 3. Paint the
tile totally, with a slightly different color on the non tile portions. This
way the missing tiles could be replaced since a match is not necessary under
paint. After doing a good bit of research this is the idea that has my
attention so far.
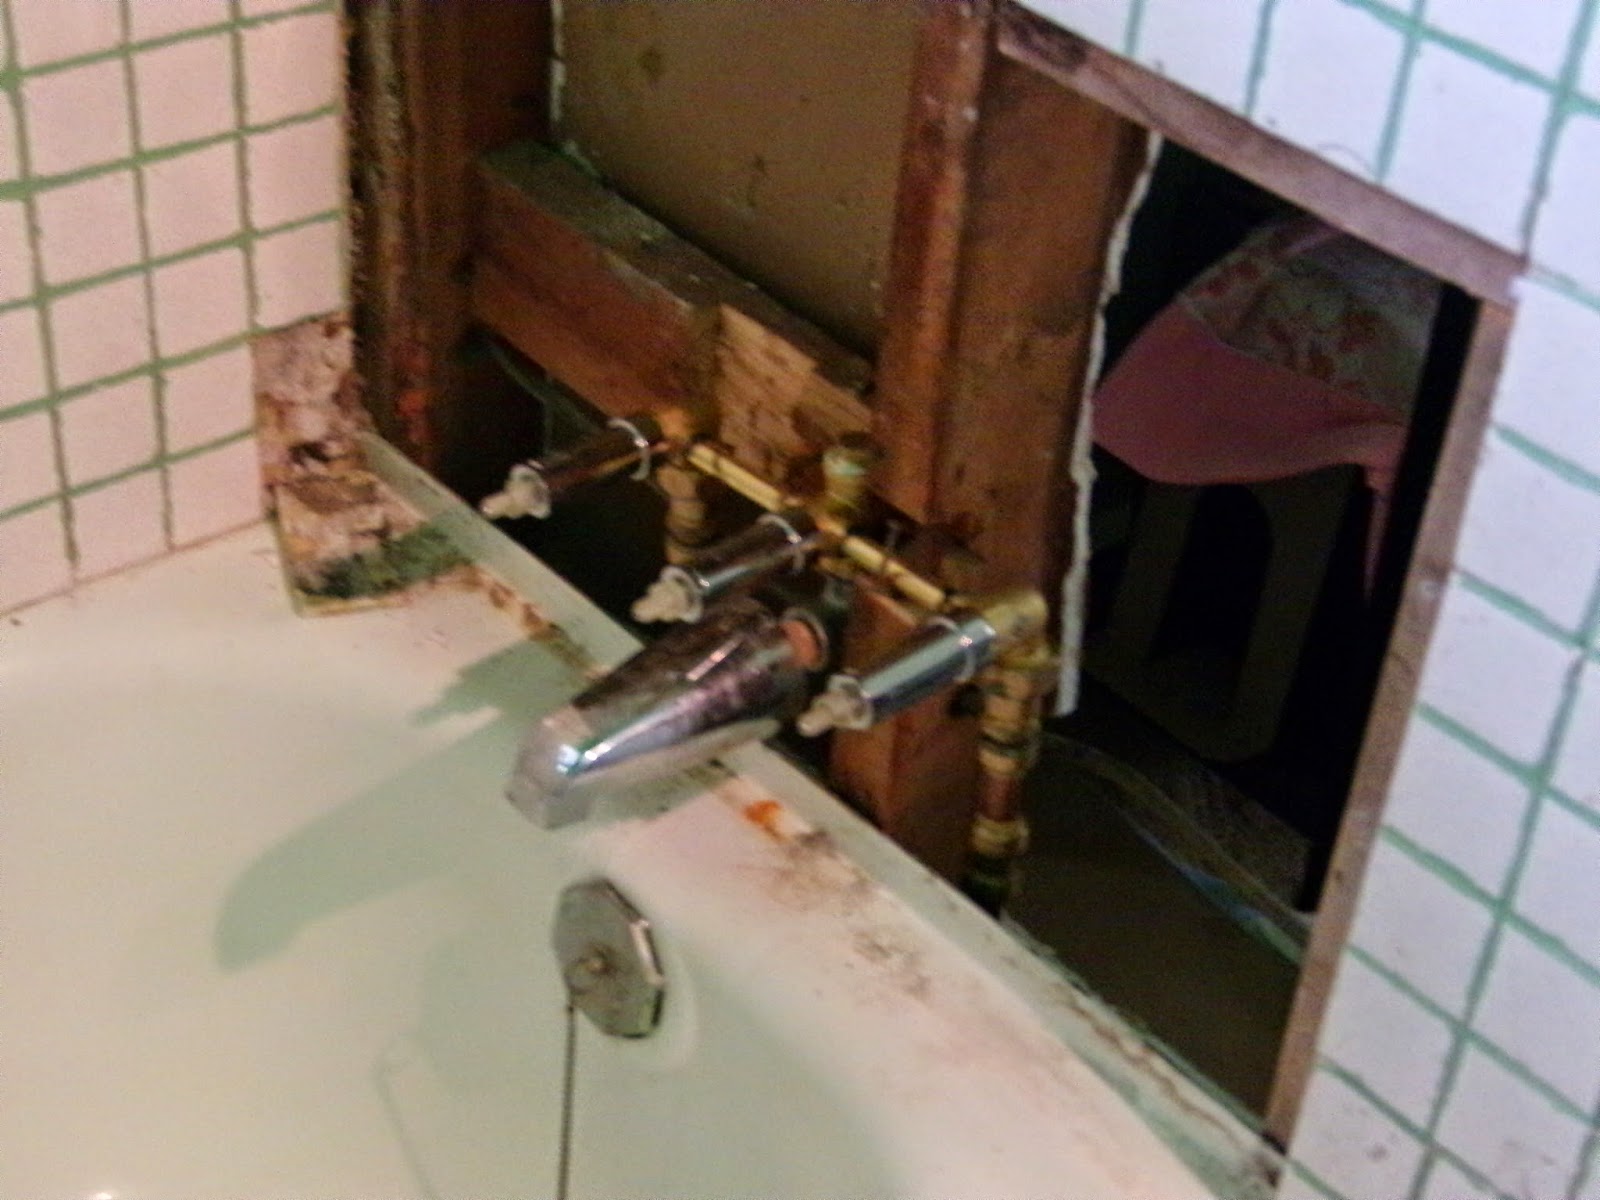
The second photo is the picture of the installation of the new fixtures. This is as they are being put in.

Here you see the saddest part for me. We had to cover the
window in order to put in a new surround. This is hard for me as I really do
like the natural light, and find it hard to close this in. The nice big new
light fixture will help with that though.

Here the new green board drywall and a shim to bring it up
to the height of the tile have been installed, and above it is the shower head,
just ready for action. All we need now is new walls.


